How to Set Global Heading Styles
Automatic.css users do not need to do follow this tutorial. ACSS sets and manages your heading styles and you can adjust them in the ACSS dashboard.
In the future, Etch will have a dedicated section in the Styles Manager for managing global styling. The below method will still work, but it will be made easier soon.
Etch's selector system empowers you to select and style any element by its tag name. For headings, this means you can add every heading level as a stylable selector.
To get started, open Etch, select any element on the page (it doesn't matter which element you select), and press Command ⌘ + Enter (on Mac) or Ctrl + Enter (on Windows) to open the Attribute Bar.
Type in:
{h1} {h2} {h3} {h4} {h5} {h6}
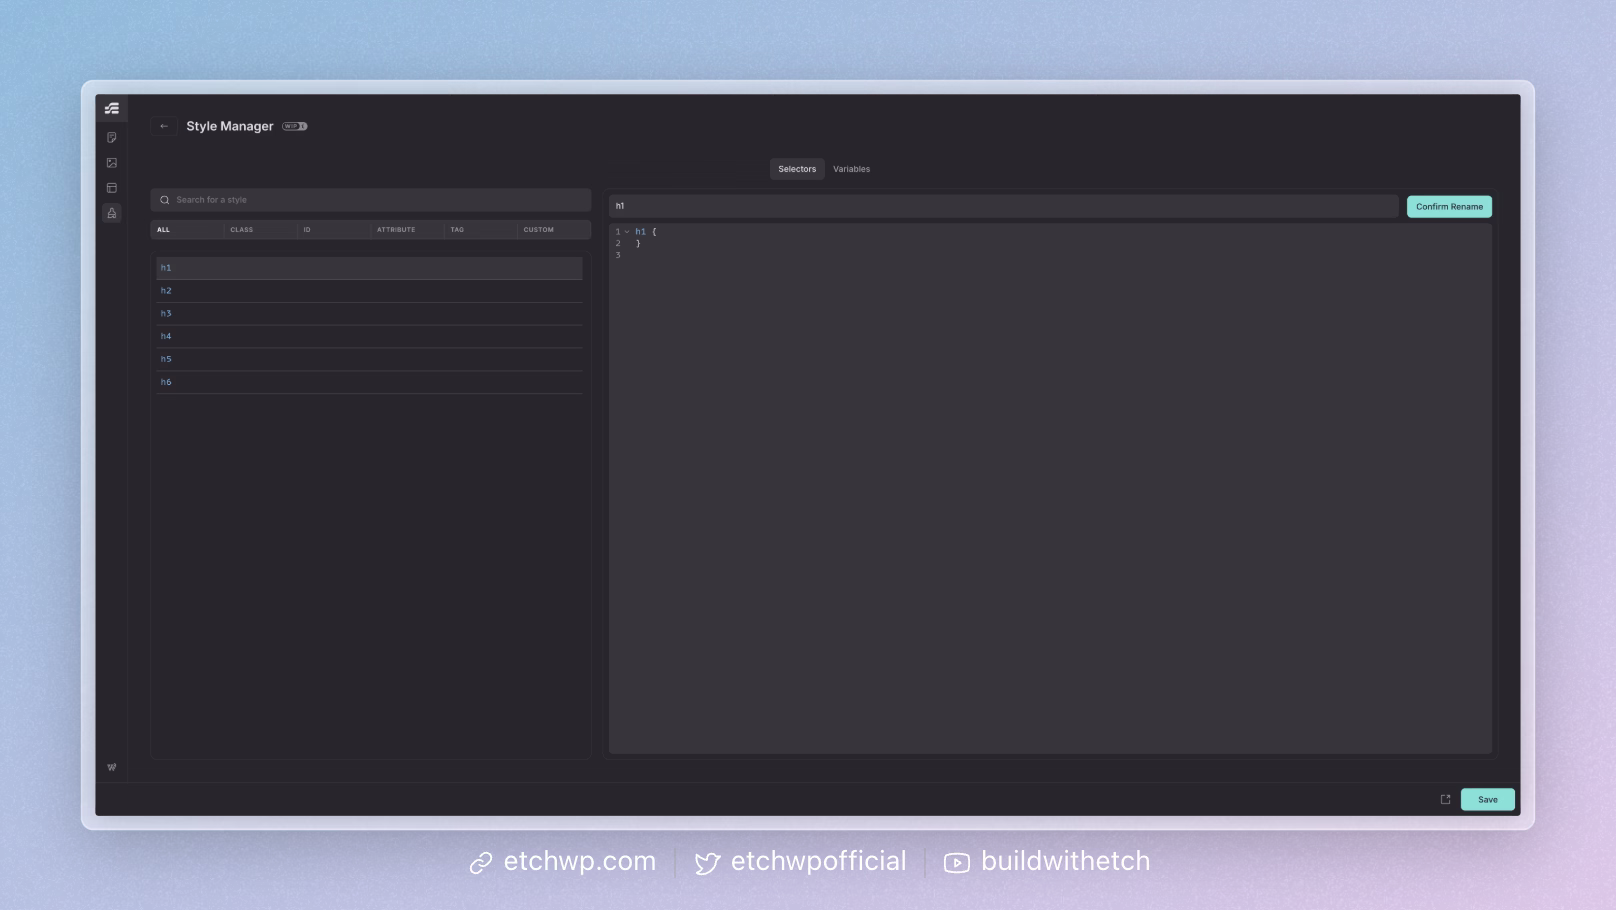
Once you hit enter, open the Style Manager.
If you have a lot of selectors, you can filter down to elements by choosing the "Tag" category.
You should now see your heading selectors waiting to be styled.
How to Add & Preview Styles
Etch will have a dedicated global styles manager in the future with a preview pane for seeing what you're doing.
For now, though, the best way to add your global styles (especially if you don't want to write CSS) is to close the style manager and add each heading level to the canvas.
When you click on a heading element, you'll see the Selector Pill available. Click it and use the CSS Panel to add your styles.
Using this method will allow you to see exactly what you're doing as you work.
Grouping Heading Styles
For any shared heading styles, you can create a more efficient selector, which gives you a single source of truth for the shared styles:
:where(h1,h2,h3,h4,h5,h6)
This can be added in Etch by putting brackets around the selector.
Any styles applied to this selector will apply to all headings.