The HTML Element
The HTML Element accepts and parses raw HTML. Since Etch already has a native HTML editor that allows raw HTML, this might seem redundant. It's necessary, though, for one specific reason.
The HTML Element is used in dynamic data situations (e.g. component/template authoring) where you're pulling content from the database or a component prop that contains HTML (a rich text field, for example).
Adding the HTML Element
There are three ways to add the HTML Element:
- Convert an existing element (recommended): Right-click any element and select "Convert to Raw HTML"
- Click the icon for it when editing a component or a template
- Write it manually in the HTML editor
Converting an Existing Element to Raw HTML
The easiest way to use the HTML Element is to convert an existing element. Right-click on any element in the builder and select "Convert to Raw HTML" from the context menu.
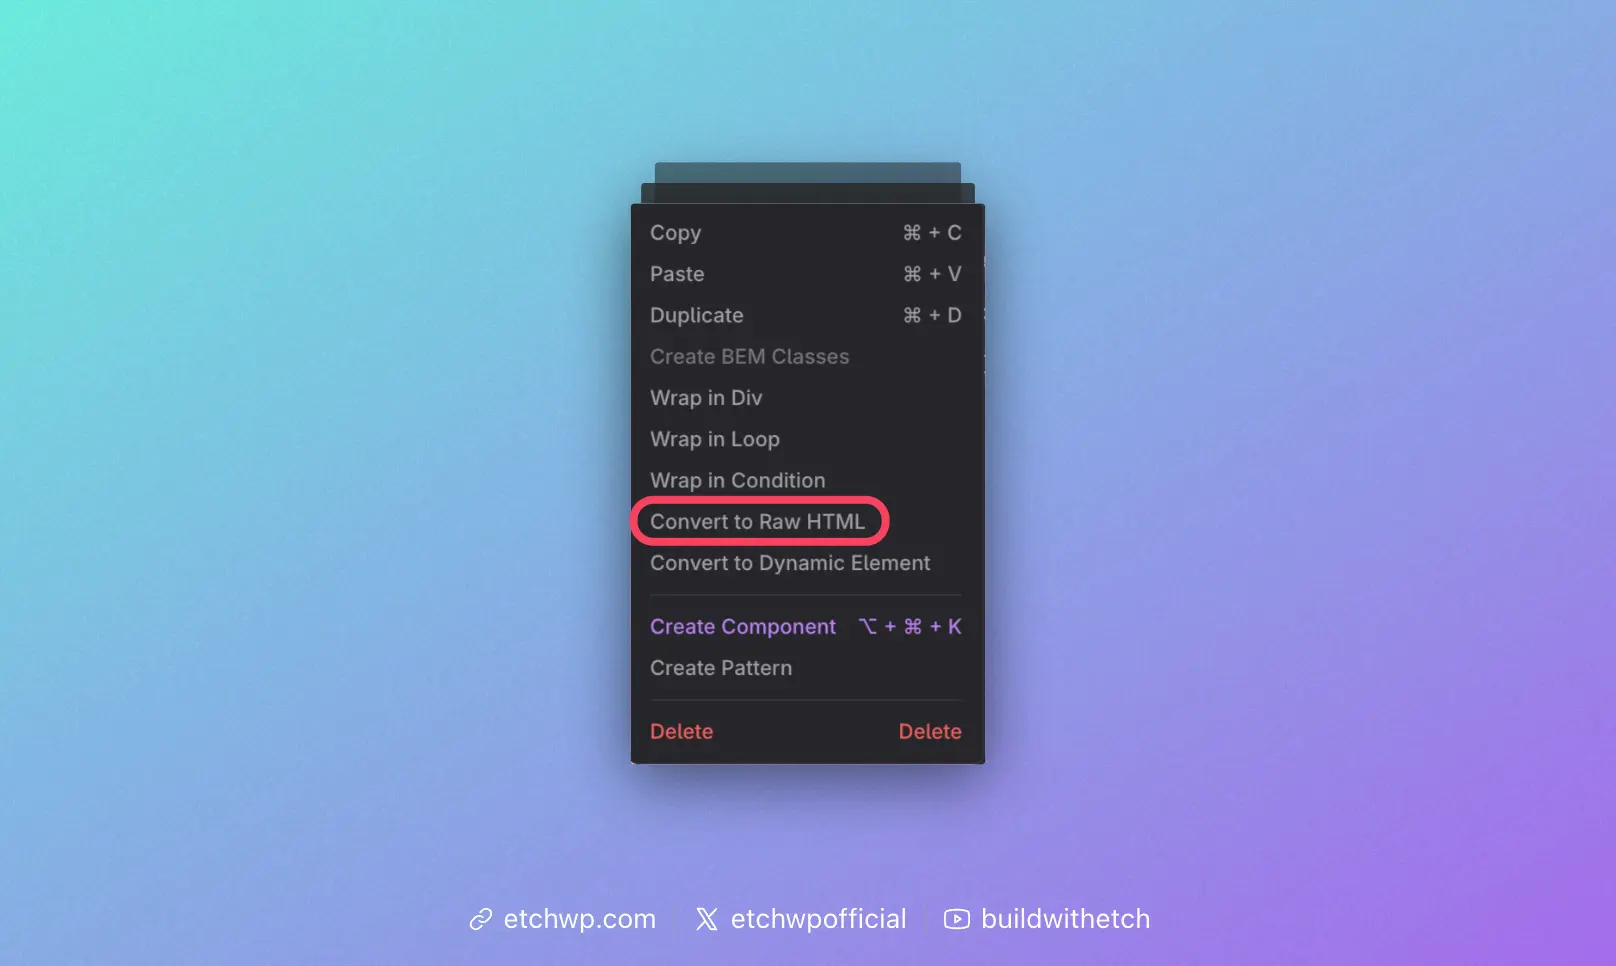
This is the recommended approach because it preserves your element's structure and allows Etch to properly parse the HTML content.
Adding the HTML Element in the Component Editor
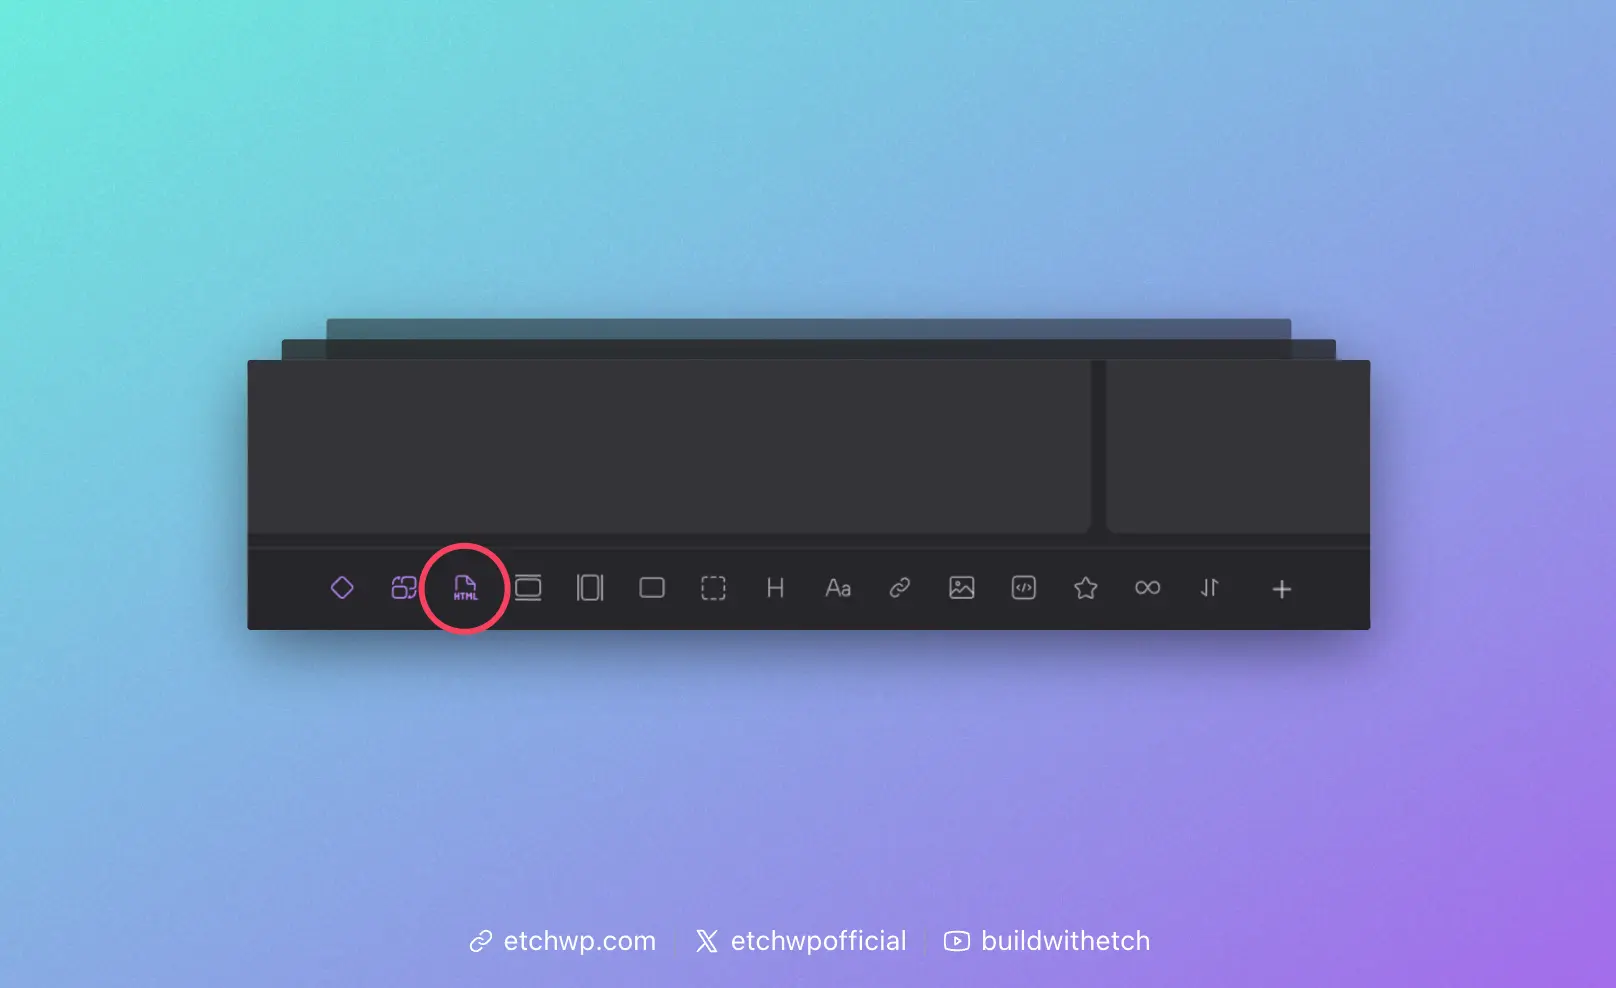
When editing a component or template, you'll see a purple HTML element icon. Click this icon to add the HTML Element to your component.
Since the HTML Element is most useful when working with components and templates, we've only added it to the Elements Bar in these contexts.
Adding the HTML Element in the Code Editor
Even though the icon for the HTML Element only shows up in the component editor, the element will function anywhere and can be used anywhere. You just have to write it manually to create it, since it's not a commonly used element outside of components/templates.
You can add the HTML Element via the code editor any time by writing <etch:html />.
Note that the HTML element is a self-closing element. Write it like <etch:html /> and not <etch:html>foo</etch:html>.
Using the HTML Element
The HTML Element has two attributes:
- content: This is where you put the dynamic data or prop key.
- unsafe: Boolean attribute that accepts
trueorfalse. The default isfalse.
Rich Text Content
When using the HTML Element to display rich text content (from a WYSIWYG field, for example), make sure the parent element's tag is set to div. Rich text content produces its own block-level HTML tags like <p>, <h2>, <ul>, etc., so the parent must be a container element that can hold these tags.
If you place rich text inside an element with a tag like <p> or <span>, you'll end up with invalid HTML (e.g., a paragraph inside a paragraph). Always use a div or other appropriate container element as the parent.
The unsafe Attribute
When unsafe="false" (the default), the HTML is sanitized but still allows "safe" tags commonly used in rich content. This includes tags like <p>, <strong>, <em>, <b>, <u>, <a>, <ul>, <ol>, <li>, <blockquote>, and more. Technically, it allows any HTML that WordPress permits in post content (via wp_kses_allowed_html('post')).
When unsafe="true", no sanitization occurs. All HTML passes through, including potentially dangerous tags like <script> and <iframe>.
In most cases, unsafe="false" is what you want. If you're rendering rich content from dynamic data (like a WYSIWYG field), the default setting will display your formatting while keeping things secure.
Setting the unsafe attribute to true has major security implications. It should be reserved for very specific edge cases where you need to render scripts or iframes. Only use this if you fully trust the source of the HTML content and understand the XSS risks involved.
Here's an example of the final string:
<etch:html content={item.your-rich-text} unsafe="false" />
Note: The unsafe attribute is optional.